We are officially one month out from MCM Birmingham Comic Con. The dates are August 7 to 9, which means the collective panic of the UK cosplay community is currently vibrating at an all-time high. I am no exception.
Every year, I tell myself I will start my convention builds in January. Every year, I find myself sitting on my living room floor in July, surrounded by rubbish, wondering why I do this to myself. This time around, I decided I absolutely needed to cosplay as Lucia: Crimson Weave from the game Punishing: Gray Raven. If you are familiar with show, you know she carries an absolutely massive, aggressive-looking sword.
I looked into getting a professional 3D-printed replica. A very talented prop maker quoted me £150 for a raw print. Considering my main source of income involves sweeping up stale popcorn as a minimum-wage cinema usher, spending £150 on a piece of plastic was simply not happening.
Instead, I decided to build it myself. For under a fiver.
The Cardboard Skeleton of Delusion
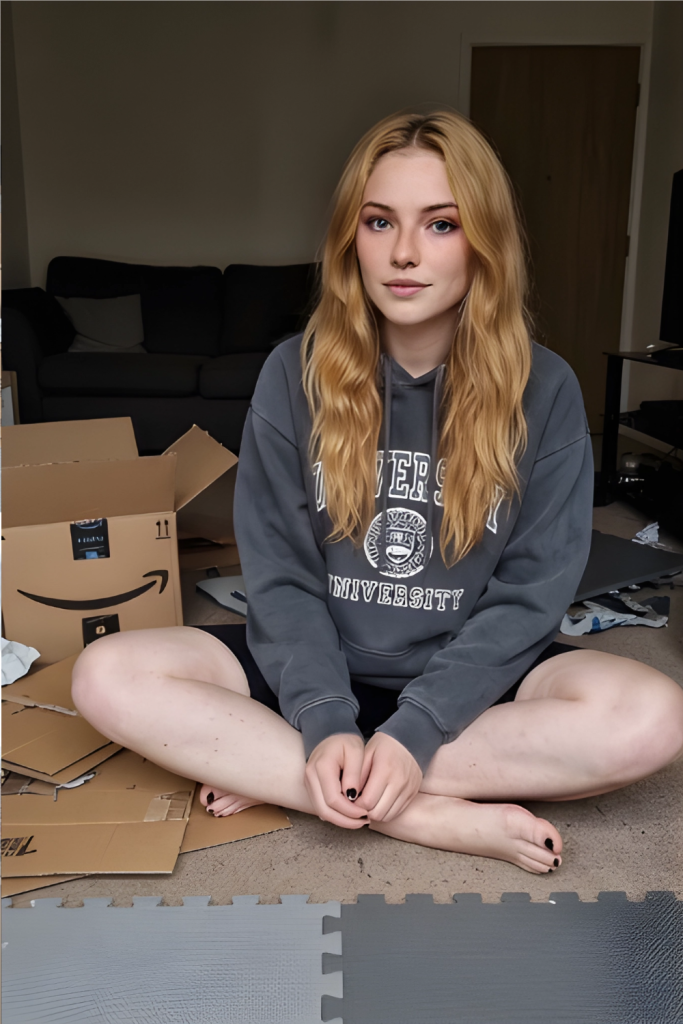
The foundation of any good budget prop is the cardboard box you saved from an online delivery six months ago because it was “a really good box”. I dragged three of these premium Amazon boxes out from under my bed and flattened them out.
The goal was to create the internal skeleton of the sword. The tactile reality of cutting through double-corrugated cardboard with cheap kitchen scissors is a nightmare. My thumb still has a very aggressive blister. I drew out the rough shape of the blade, which is roughly the size of a snowboard, and sawed my way through the cardboard.
I cut out three identical layers and glued them together to give the core some rigidity. If you are trying this at home, do not skip the layering stage. One piece of cardboard will just flop over the second you pick it up, and nobody wants a sad, droopy broadsword.
Enter the Floor Mats
To make the cardboard look like actual metal armor and not recycled paper, you need EVA foam. Cosplay shops sell high-density, beautifully smooth crafting foam. I buy interlocking anti-fatigue floor mats from the discount hardware shop down the road. They are cheap, they smell distinctly of a leisure centre, and one side is covered in a weird diamond tread pattern, but they get the job done.
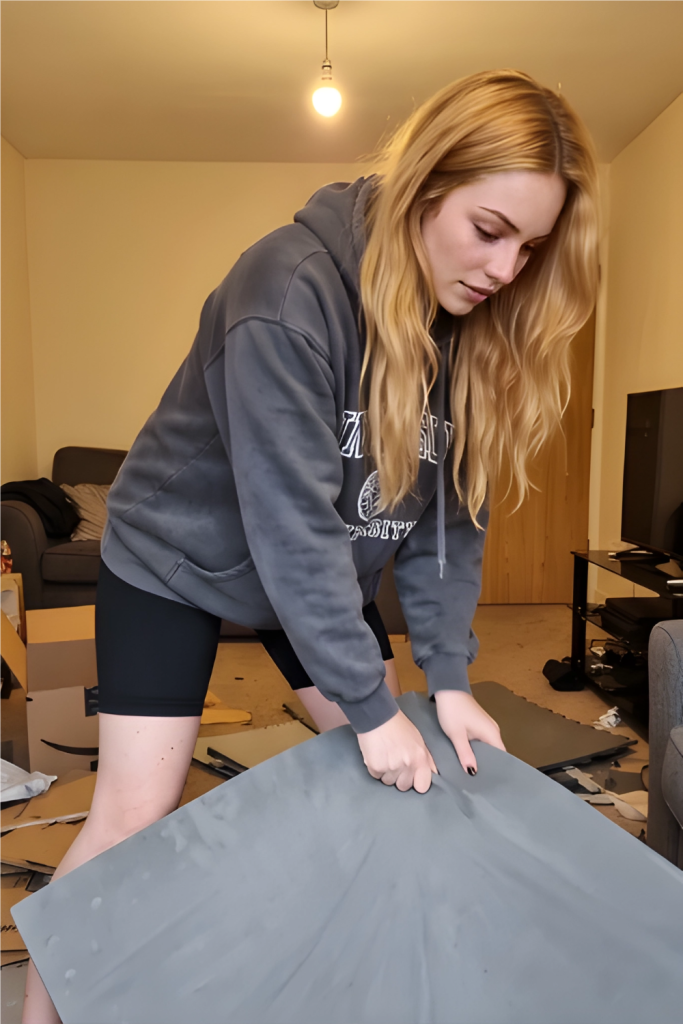
Cutting EVA foam is a totally different sensory experience. It squeaks when the blade drags through it, and if your craft knife is even slightly blunt, it just tears the foam into jagged, ugly chunks. I highly recommend buying a cheap knife sharpener and running your blade over it after every single cut.
I traced my cardboard skeleton onto the smooth side of the floor mats, cut out two massive foam covers, and prepared to sandwich the cardboard inside. This is where the evening took a dark turn.
The Superglue Sacrifice
Proper prop makers use contact cement. Contact cement requires a well-ventilated workspace and a respirator. I live in a tiny flat in the Northwest of England and it was raining, so I used eight tubes of pound-shop superglue instead.
This was a tactical error.
Superglue cures incredibly fast when applied to porous surfaces like foam. I had about three seconds to line up a piece of foam the size of a dining table runner with the cardboard base. I panicked, slapped it down slightly crooked, and tried to peel it back up. The glue had already set.
In my frantic attempt to fix the alignment, I somehow managed to glue my index finger and thumb directly to the edge of the blade. The sudden, acrid smell of the curing cyanoacrylate was intense, and the sheer panic of being physically attached to a giant foam weapon in your own living room is a very specific type of humbling. I had to use a bottle of nail varnish remover to slowly dissolve the bond, leaving a permanent, very ugly dent in the side of my pristine sword.
The Kitchen Appliance Incident
Once the sword was fully assembled and the edges were sanded down (which coated my entire floor in a fine, grey static dust that refuses to be hoovered up), it was time for paint.
Again, professional advice dictates that you should seal your foam with a flexible primer before painting. I used two coats of standard PVA glue slapped on with a washing-up sponge. It dried with a slightly bumpy texture, but I convinced myself it just looked like battle damage.
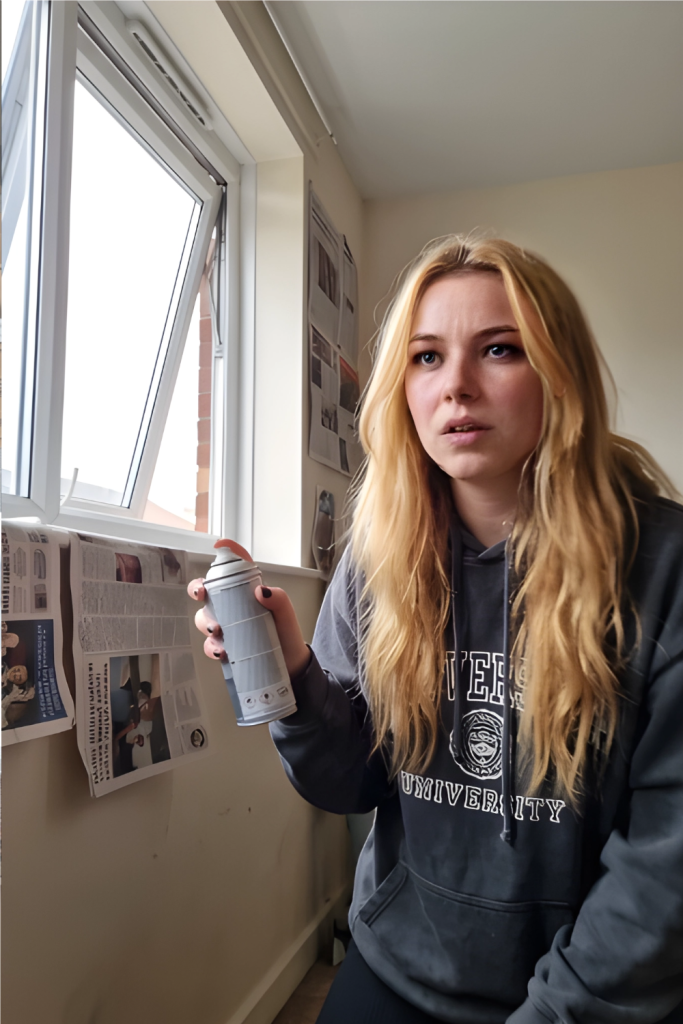
I propped the window open, laid down some old newspapers, and started hitting the sword with metallic silver spray paint. I felt like an absolute genius. The fumes were terrible, but the sword looked incredible. It finally looked like a heavy, dangerous weapon.
What the crafting tutorials do not warn you about is spray paint dust. Three days later, I walked into my tiny kitchen to make a cup of tea. I picked up my kettle, only to realise it was glistening. The airborne silver paint particles had drifted across the flat and settled onto every single surface in my kitchen. My toaster is now pearlescent. My microwave looks like a prop from a cheap sci-fi movie.
The Final Result
Was it worth almost losing a layer of skin and accidentally customising my kitchen appliances? Absolutely.
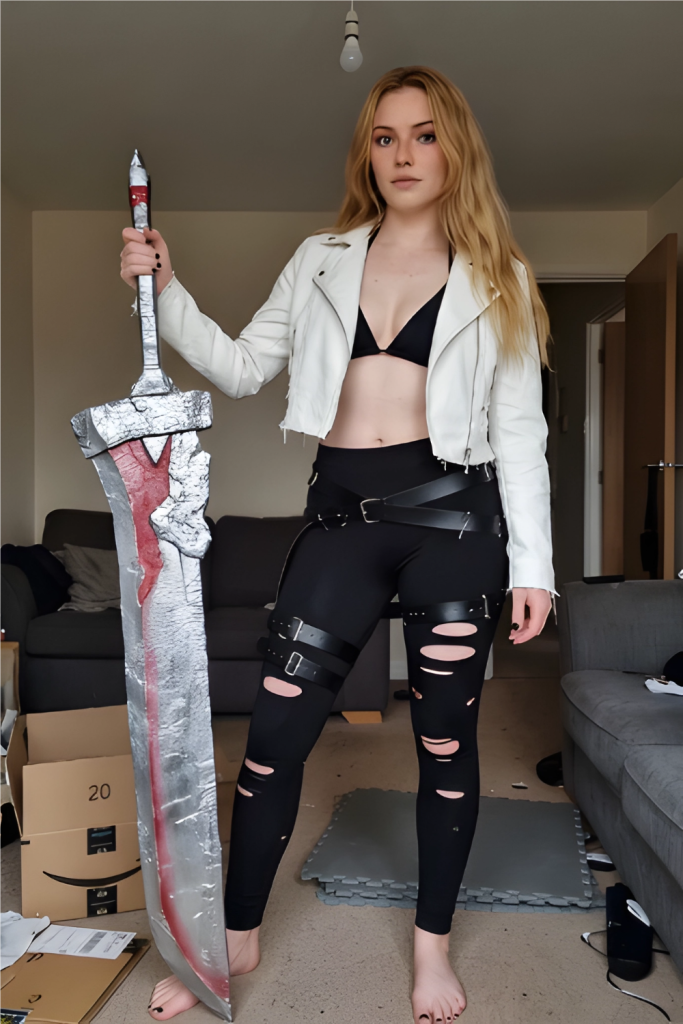
The outfit itself is a whole different chaotic story. It is essentially a frankenstein creation of a cut-up white charity shop jacket, a black bikini top, some ripped leggings, and about fourteen cheap belts I found at a car boot sale held together with safety pins and hope. It is not an exact replica of the reference image, but it captures the vibe.
Holding that massive, weighty sword is the best feeling in the world. It is not perfectly smooth, the paint job has literal sponge marks in it, and one side has a suspicious dent where my hand was glued to it, but it is mine. I made it with my own two hands on a Tuesday night for less than the price of a fancy coffee.
Right, I need to go scrub silver paint off my favourite mugs before I have to leave for my shift at the cinema. What is the absolute worst bodged DIY project you have ever proudly finished? Let me know, I need to feel less alone in my chaos.